|

PLEASE BE PATIENT, THIS PAGE IS GRAGHIC INTENSE.
For this tutorial there are 4 parts, we have
3 background tiles and the framing for the image. To complete this
tutorial you will need Paintshop Pro the
Simple plugin,
FM Tile Tools,
the copper tile and an image of your choice the one provided for you.


We are going to start with the tile that is
in the background here. Remember to save often.
Step 1 Open the copper tile and
minimize it. Set your foreground to the tile I provided or use one you
already have. It will really depend on the colors of your chosen
image.
Step 2 Open the image of
your choice and resize it to a desired size. make a copy by clicking
on shift D. Go to effects, artistic effects, apply the black pencil
effect to your liking. I would give you settings for black pencil but
it really varies depending on what image your working with. Now add a new layer to the copy and flood fill
with the copper tile. On your layers pallette slide the opacity bar
down to about 50, or just enough to make it look faded in a fabric.
Now go to plugins, simple, quick tile, save and set aside for later
use.
Now for the copper tile, it's easier yet.
Step 1 Open a new
transparent canvas 200 x 200, now flood fill it with the copper tile
and go to plugins, simple, quick tile save it, and set it aside.
The last tile which is even easier yet.
Step 1 Next thing I
did was open another 200 x 200 pixel transparent canvas and flood
filled it with black. Now you can apply a texture or whatever you
want. I just left mine blank because any special effects with black
are very difficult to show up.
Last but not least we will begin the frame.
For the frame you will need the tiles you just made that was the
purpose of sitting them aside.
Okay, You can use the image I've supplied or
another of your choice. If you decide to use an image of your choice
you will need to choose a complimenting texture. I am using a
different texture and image for this portion of the tutorial because I
wanted to show you how it would turn out with a little creativity.
Also I began this tutorial almost a week ago and just now got around
to finishing the frame portion of it.
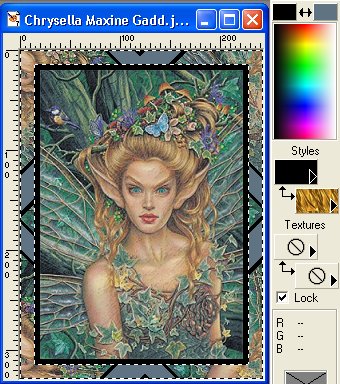
Step 1 Begin by
resizing the image to a desired size. Add a new border of 5 pixels. Be
sure you have black selected as your styles background color. A
screenshot of what your styles colors should look like is below step
2.
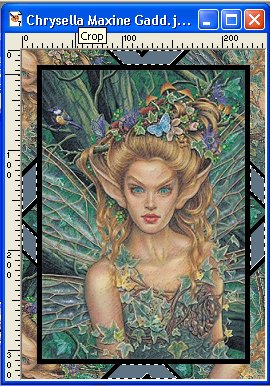
Step 2 Now change
your styles background color to a different color, add a border of 15
pixels. Now using your magic wand select the 15 pixel border. go to
plugins, simple, diamonds and click ok. Now select the V shapes on
each side of the frame with your magic wand and flood fill with the
texture you chose. To select all the parts of the V shapes, just
hold down your shift key while your clicking on each portion of the V
shapes.
Step 4 Now add a new
border of 5 pixels using black as your styles background color.
Step 5 Now add a new
border of 15 pixels, using a different color from black. Now select
that border using your magic wand and flood fill with the texture you
chose.
Step 6 Now add
another 5 pixel border with black as your styles background color.
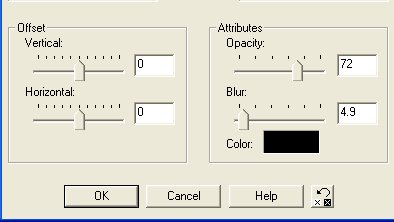
Now for the final touches, make sure your frame is deselected while
holding the shift key use your magic wand to select all the black
borders and apply a drop shadow using the following settings. Deselect
and your now done.
Back to Tutorial Archives

Web Site Design &
Publication:
Candi
@
Candi's
Musical Angels
No part of
this website to be copied/reproduced
in any way, in any media including email lists.
Candi's
Musical Angels
© 1997-2002
|